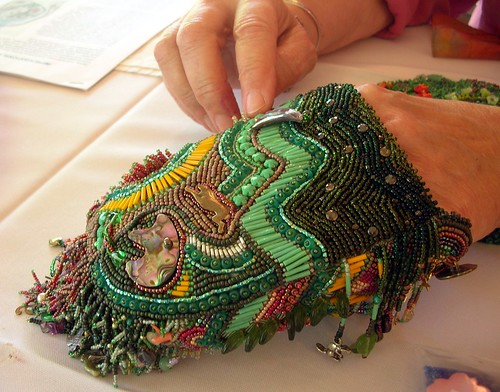
I took a few pictures; however, I was too shy to take a picture of Robin while she was teaching (didn't want to disturb her) but I did get a great picture of her hands as she told us about her "Marriage Bag."
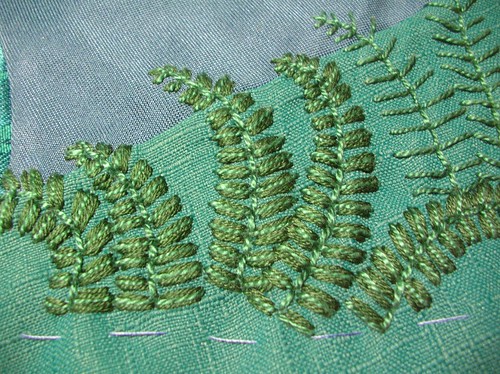
As she taught us the different advanced stitches, Robin would bring around examples of her work to show us how she had used that particular stitch. It was a wonderful way to see how the stitch looked on a beaded piece, as well as a great way to get up close and personal with the artist and her art.
Here is another of her pieces that I just love... Rosie!
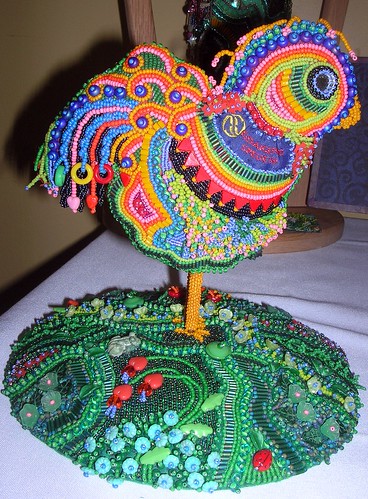
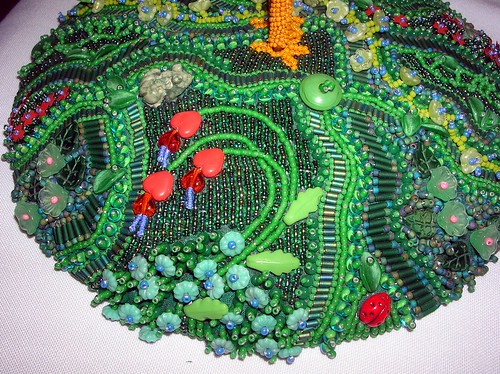
Isn't she something else? There is so much going on with this little lady! Here's a close-up of her garden...
As you can see from Robin's post about her visit here, there were some talented people in that class. Apparently Lisa has a new love!
As I said earlier, by afternoon of the first day everyone was working on their own personal beaded piece. I started in on mine and got quite a few beads embroidered on it and then Robin said she wanted to show the class my piece... as she took it she said "I hope you don't take this wrong, but..." Oh, dear. Then she used my piece as an example of how improvisational beading should not start! Hoo boy, not the impression I wanted to leave her with! But I soldiered on and got a bit more improvisational with it instead of making it so symmetrical and I think she was a bit happier with it at that point. So was I!! I could see that I had planned it out in my head instead of being spontaneous and just letting it flow the way she had shown us. Wanna see it?
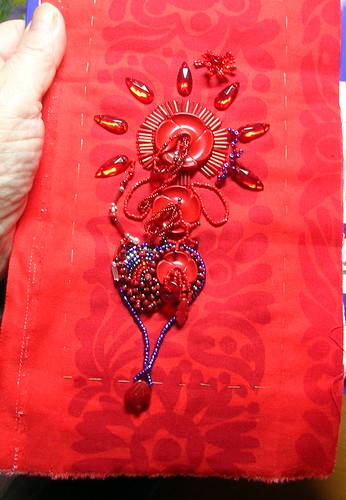
I started it with the buttons and then added the rhinestone beads around the top button and it was altogether way too symmetrical. The bottom part is where I actually started just beading without a plan. I like the way it is going and I'm going to use it as a practice piece as I work through the beading on my Midsummer CQ.
Oh, yes, there will be scads of beading around Titania! I think the techniques Robin taught during those wonderful two days will really help to bring some dimension and extra emphasis to many areas of the center portion. I can't wait to dig into it!
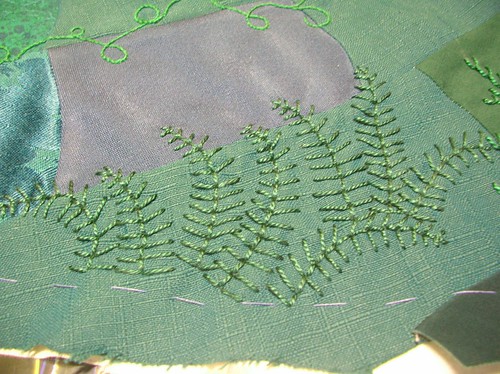
And, speaking of the center portion... all blocks have been pieced! WooHoo! ;0)
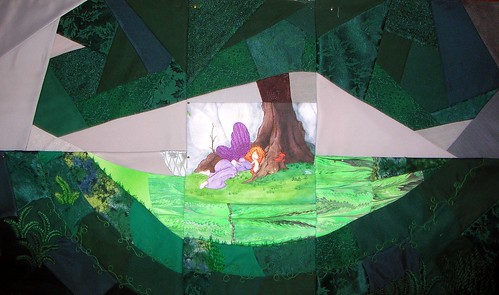
I had such a hard time piecing the tree... it took every evening of the past week. The center block and the left block took 4 evenings, then, this morning, I got up and pieced the top right block in 3 hours. Quite a steep learning curve! Of course, I can see where I need to do some revision on the piecing here and there but at least you can now see the idea that was in my head! On my monitor, these colors are pretty true. When I first envisioned this, it was going to be much softer, lighter tones; however, when the muse speaks, I listen! Of course, this is just the base and there will be many additions along the way!
We're off on a long road trip for the next couple of weeks, but I'll be stitching the entire way... WooHoo! Va-ca-tion!!